Emma Lovell Yoga

This content shows Simple View


Category Archives practice

The best way to breathe…

‘The best way to breathe is the way that supports the activity that you are doing.’  Donna Farhi, The Breathing Book.

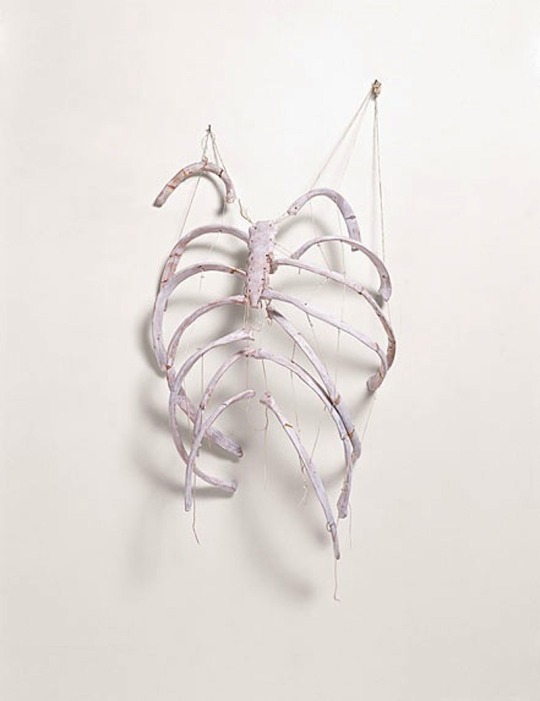
Kiki Smith – Ribs, 1987, terracotta, ink, and thread

It’s been all about the rib cage and breath in class this week.  Specifically focusing on how we are breathing with the thoracic cavity and aiming to create space and awareness in this area for a better quality breath.  Here’s biomechanist Katy Bowman explaining the mechanics of breathing and how the way you breathe affects the different pressure systems in the body:

Here are some movements you might want to try at home to help create space and release tension in this area:
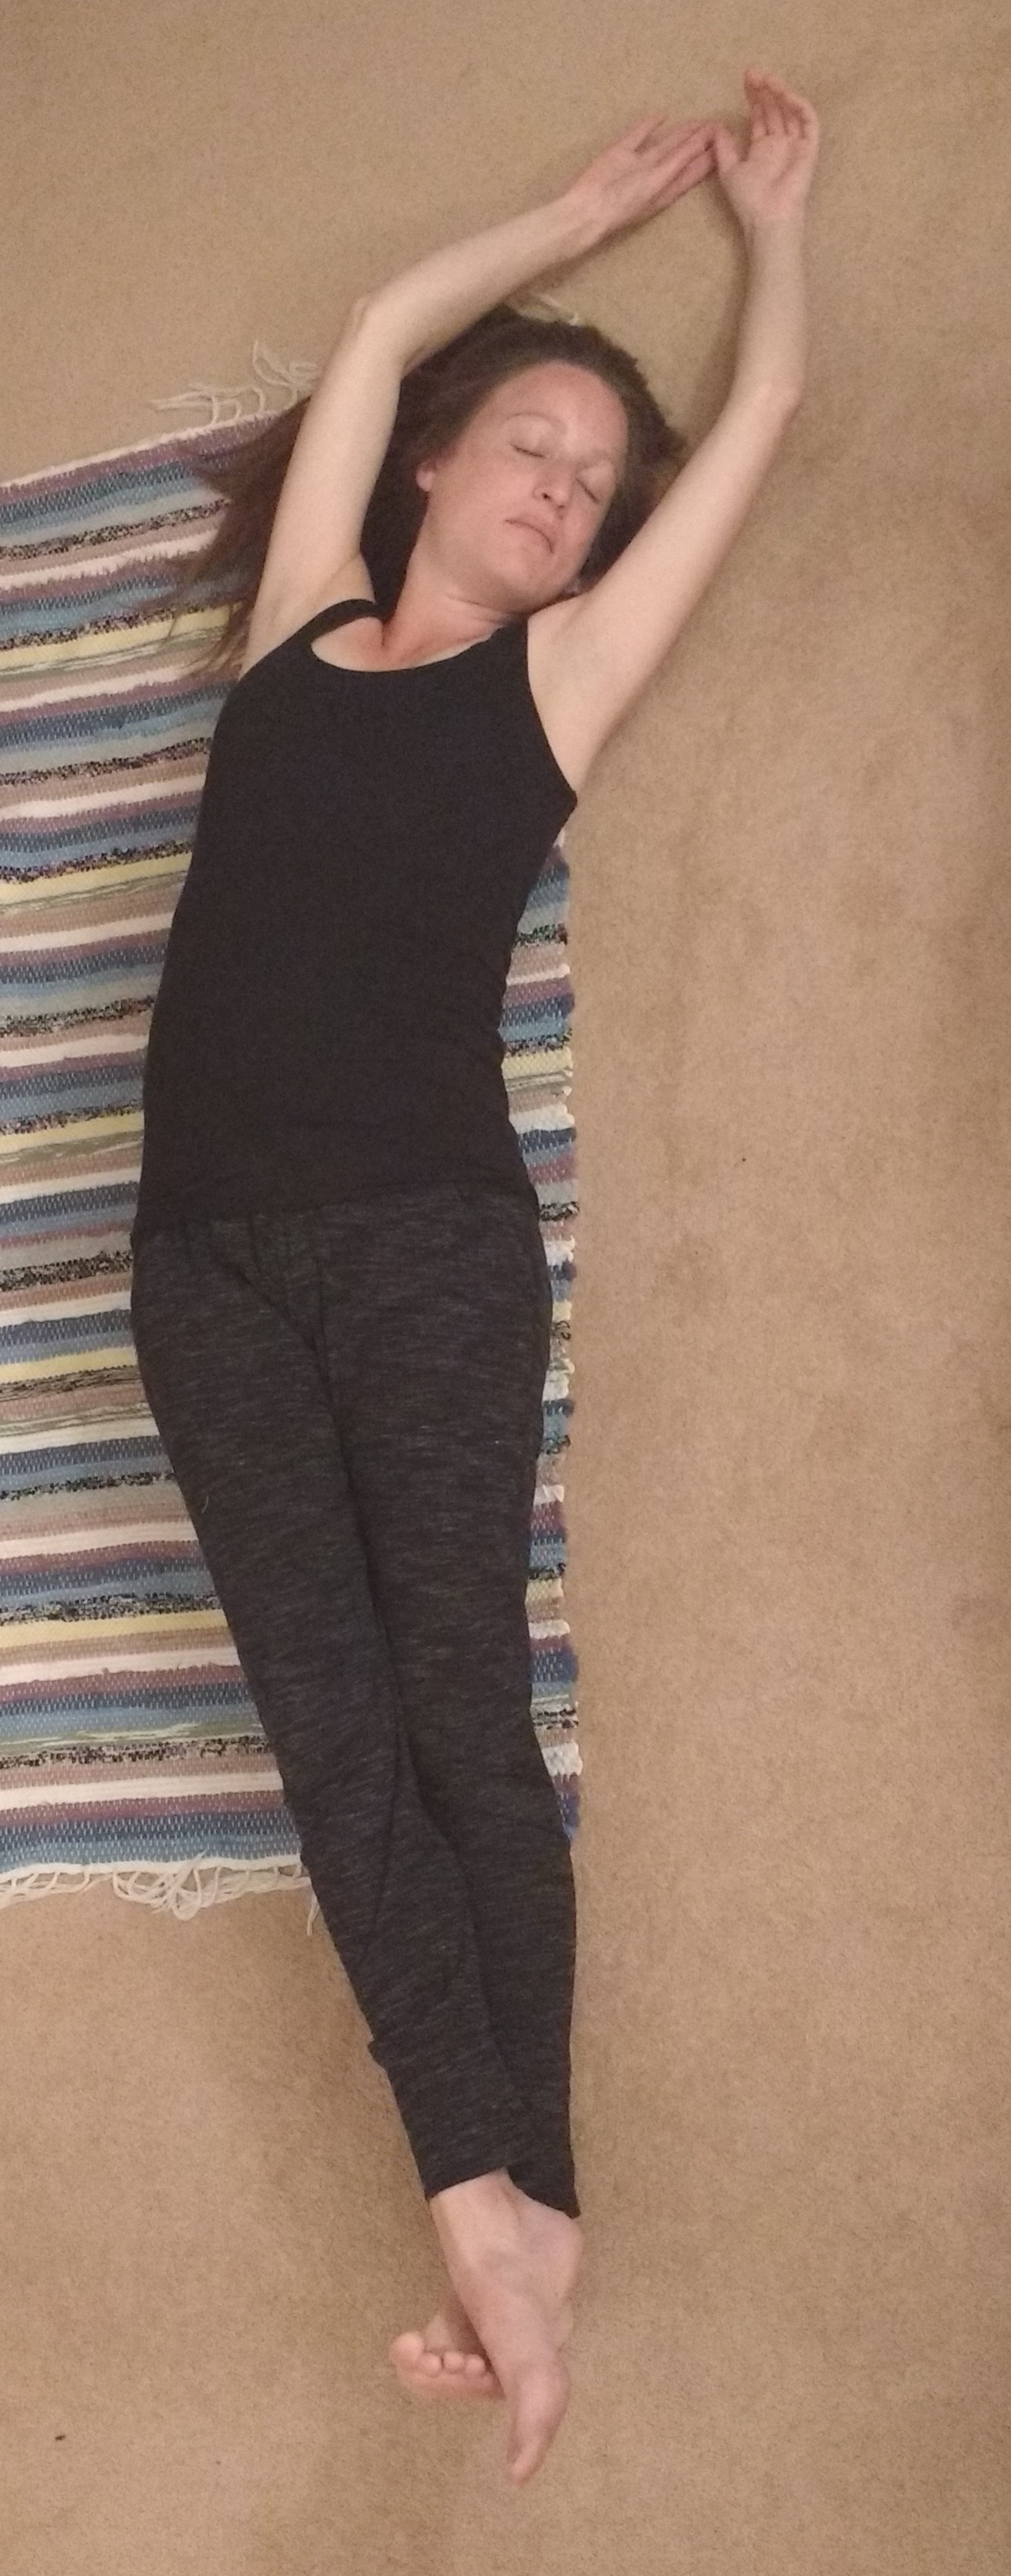
IMG_20161013_184357584

Side stretch

Walk hands and feet over to one side making sure pelvis and ribs don’t roll with you (they stay level).  You can cross one ankle over the other and take your wrist to make the stretch stronger.
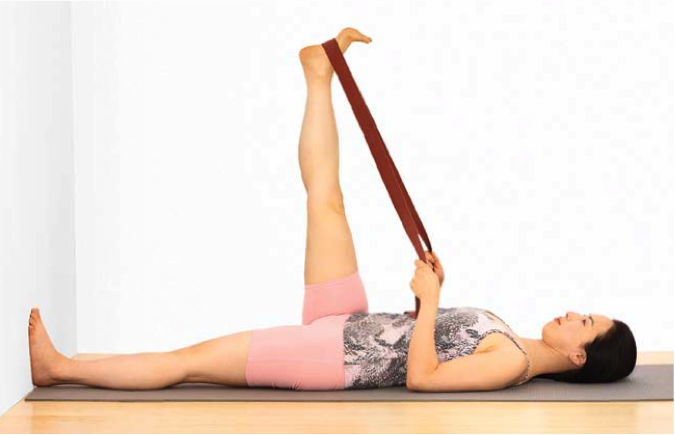


IMG_20161013_184515733

Pec/chest stretch

Lay on your back and bend your right knee up roll it to the left until the knee and foot are on the floor.  Keeping the leg in place, reach your right arm up to the ceiling.  Slightly bend your elbow and then slowly lower the arm behind you.  Imagine your arm is drawing away from you as you lower.  You can move the arm up towards your ear or down towards your hip to find the best stretch for you.
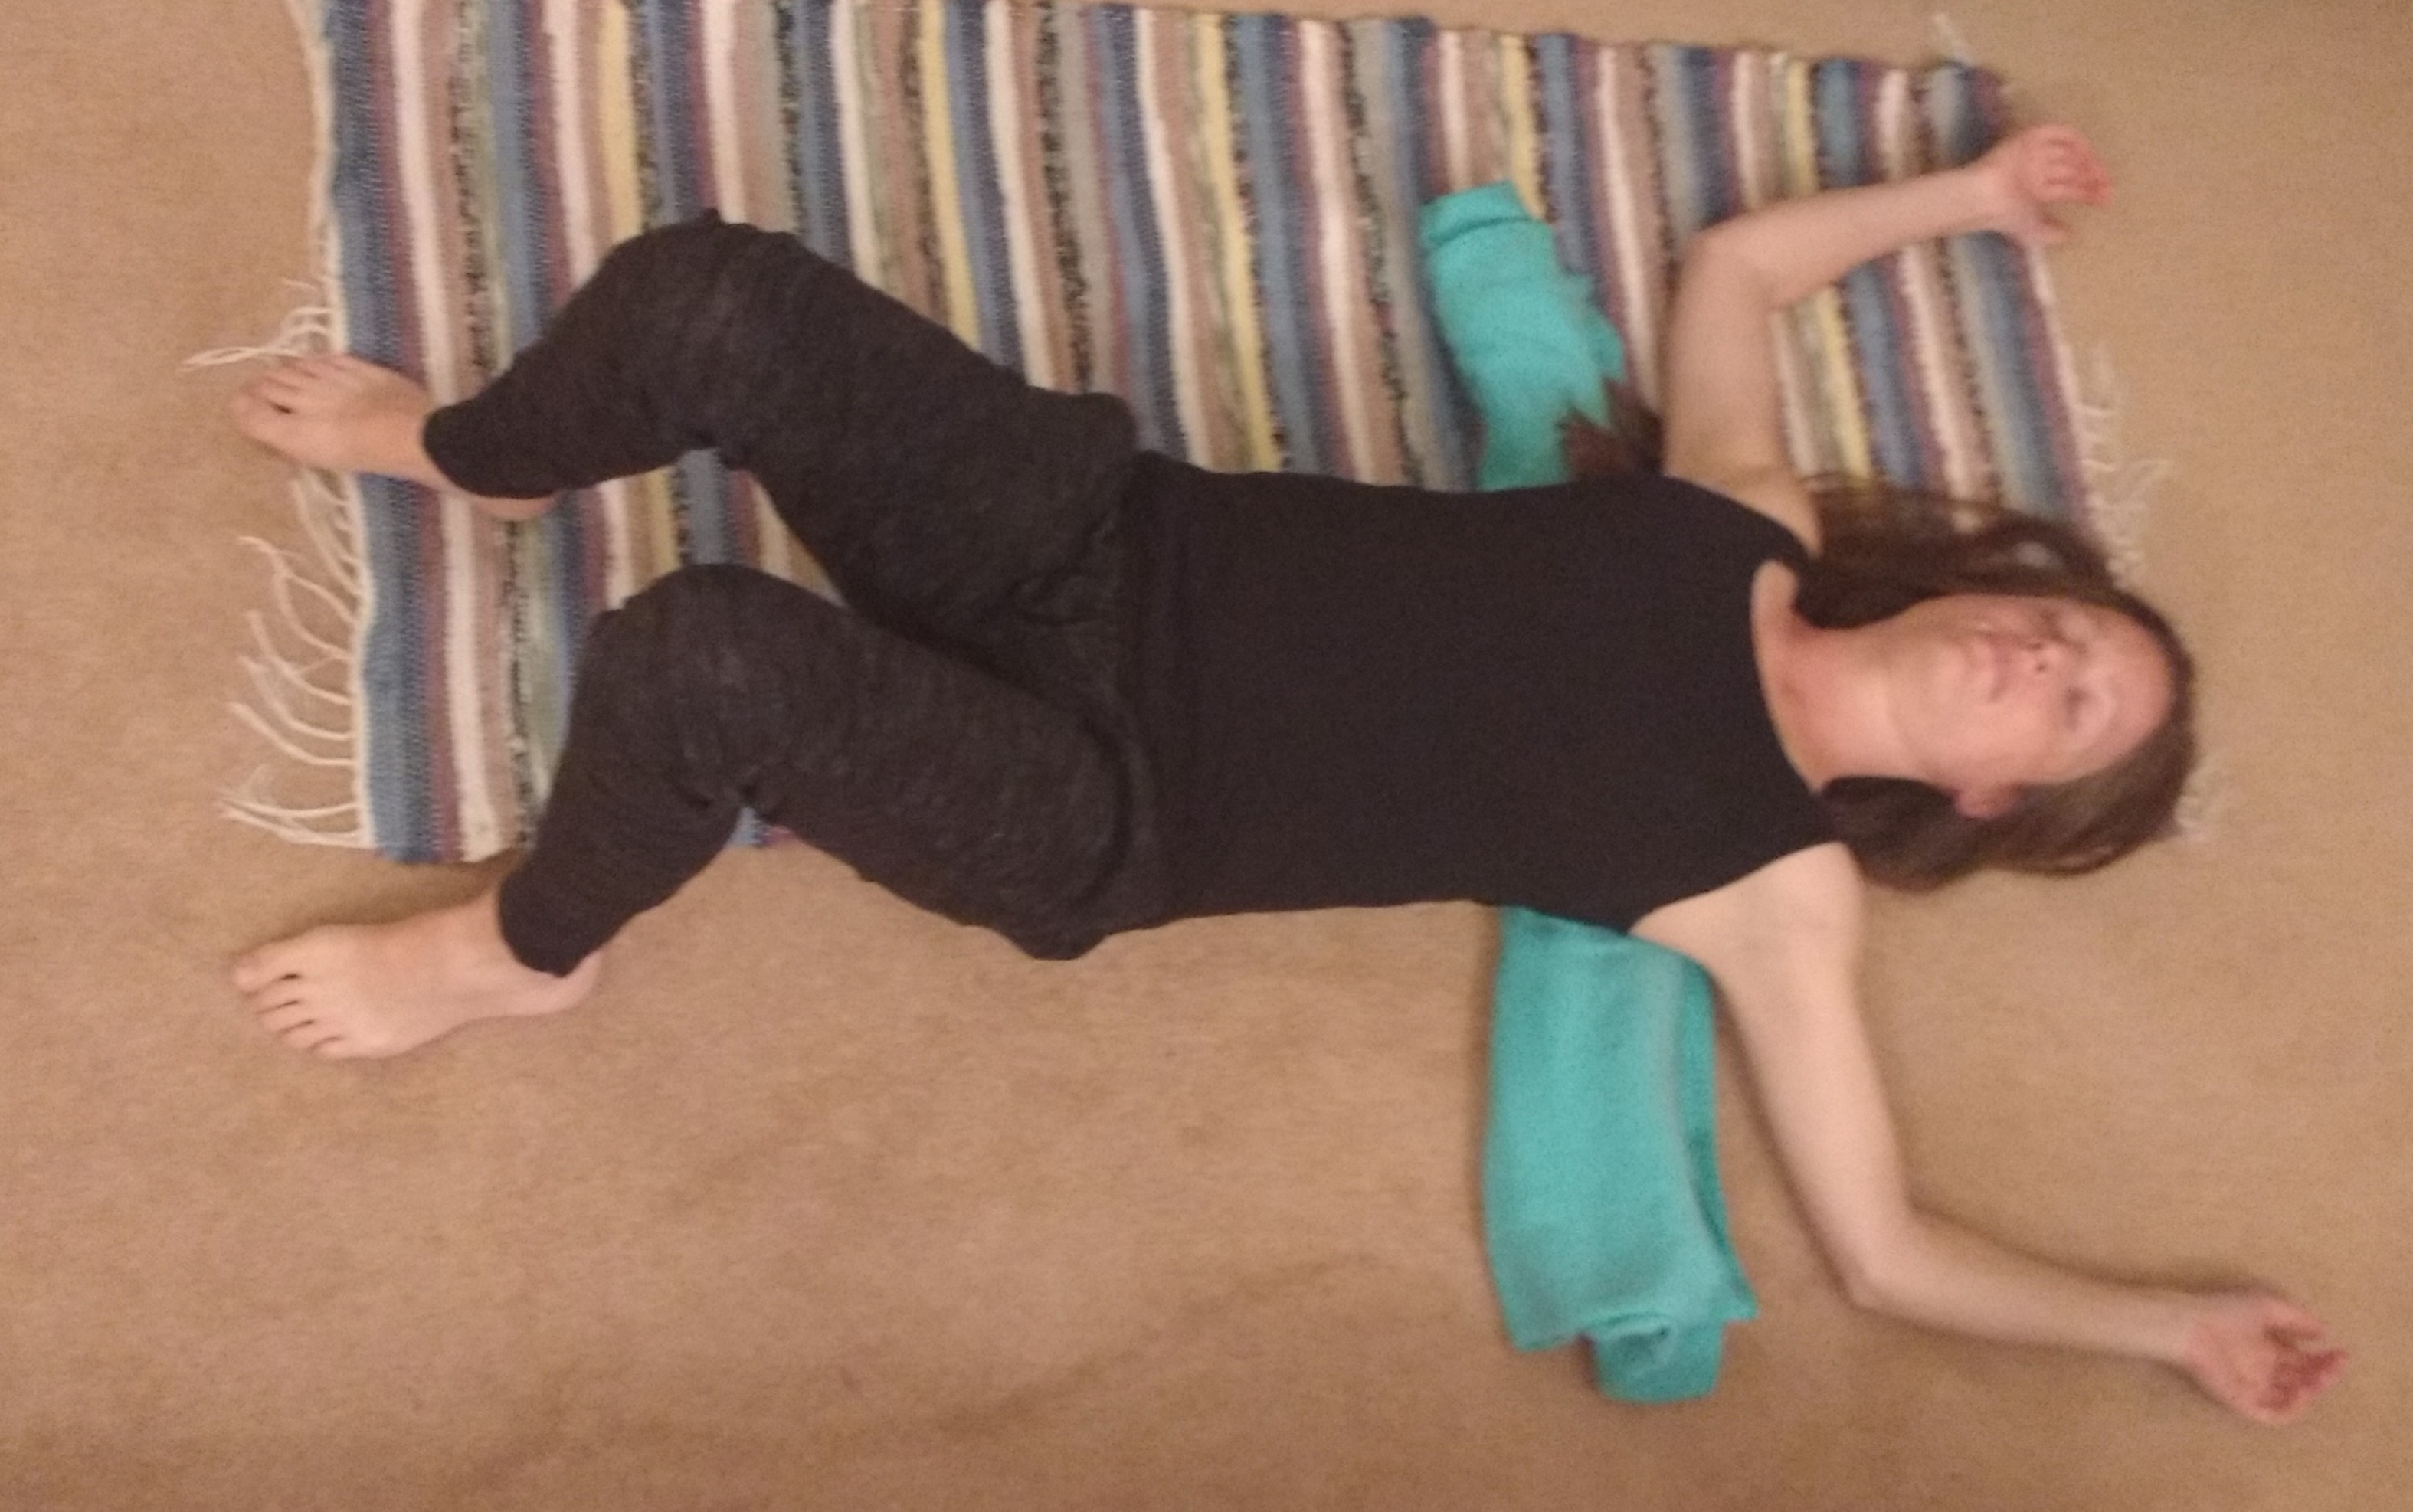
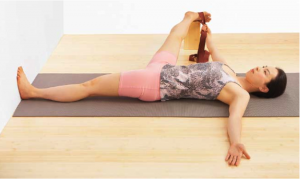


IMG_20161013_184813256

Chest opener

Place a rolled blanket or yoga mat under the upper back.  The blanket should come out under the armpits and shoulders release to floor.  Add a blanket under the head and neck if needed.


Some more tips for better breathing:

Here’s a great video from Jenni Rawlings which aims to optimise rib cage breathing.

Consider your wardrobe- make sure your clothing isn’t restricting how you breathe- think tight waist bands, belts, ties, in fact any clothing that restricts your movement full stop is bad news for the breath.

Consider your belly- are you holding your belly in right now?  Contrary to what is often thought, constantly holding your belly in will actually cause the muscles to weaken rather than strengthen, and like any muscle that is never allowed to relax, will eventually cause a reduction in function.  Not only this, but constantly holding in your belly increases tension in the body and restricts your breath as the abdominal muscles are unable to move freely (among other unpleasant side-effects):

‘Most people have replaced deep, abdominal activity with “sucking their stomach in.” The belief held by most is that “sucking it in” constantly uses one’s abdominal muscles, but really, the sucking-in motion creates a pressure (like creating a vacuum) that pulls the abdomen’s contents up (not in). It doesn’t do anything for core strength (except weaken it over time) or back health (increases the loads placed on the intervertebral disks).’ Katy Bowman

Happy breathing!


Shoulders

Raise your left arm into the air. Great. Now check and see if the shoulder joint also went into the air. Did it? Now, put the arm and the shoulder back down and raising your arm without taking your shoulder with it. How? By thinking “pull the left shoulder blade down as I lift my arm.” Why? Because arm movement should happen mostly at the shoulder joint and not so much between the shoulder and the neck. For better long-term shoulder health (and less neck tension) maintain those finer motor skills (look Mom, I can move JUST my arm), which keep the smaller muscles in the shoulder joint more mobile and well-circulating and reduces the pull on the vertebrae of the neck. How’d you do? Try the right side too!’  Katy Bowman, from blog post ‘Want Traps with that?’  Full article here

We’ve been fine tuning our arm and shoulder movement this week and trying to reduce neck tension in the process.  If you want to practice what we did in class at home then take a look at Katy Bowman’s ‘Alignment Snacks‘ which are roughly 20-30 minutes sessions on different areas of the body.  I recommend ‘Rhomboid Madness’ and ‘A Real Pain in the Neck’ if you want to repeat some of the exercises we did this week.

Also take a look at these two videos from Jill Miller’s Yoga Up®:


Finally here’s an interesting article on neck and head position to help avoid neck pain from Alignment Monkey.


Low back sequence

A sequence for a tired and achy low back.  You will need:

A wall

A strap/belt

A block/cushion

A bolster (optional)

1. Begin in legs up the wall pose.  If you don’t have wall space you can place your calves on the edge of a bed or chair.

2. Then press feet to the wall and bend knees to peel the back of the body off the floor and down again.

 Image result for bridge up wall yoga

3. Reclined pigeon with wall

4. Easeful rest pose then roll knees from side to side keeping feet hip width.

5. Supta padangusthasana- press the ball of the foot up into a belt, then turn your foot away from you and take the leg out to the side, making sure both sides of the pelvis stay level on the floor.

5. Balasana (option with bolster/cushion between legs).  Place a block under the head if the forehead doesn’t reach the floor.


6. Cat and cow

7. Sphinx pose

8. Supported bridge (make sure block is placed under pelvis rather than low back).


9. Reclined twist

10. Savasana


Individual practice

A couple of articles here on the changing approaches to yoga.  First, the brilliant Matthew Remski writing about  ‘extreme practice and injury in asana’ and also touching on the online trend of posting pictures of extreme yoga poses which, for most of us, are completely inaccessible.

‘Pattabhi Jois was fond of the adage, “With enough heat, even iron will bend”. But this new rationalist yoga discourse imposes clearer limits upon the aspirational body, insisting that muscles do not get “longer”, and pain is not an “opening” – except in a pathological sense. The primal dream of bodily transformation through “being worked into a noodle”, as Jois student Annie Pace described it, is being eclipsed by the simpler goal of enhancing a natural range of motion for functional movement.’ See more here.


On a similar note, Jenni Rawlings discusses how our different body proportions affect our practice, stressing the importance of moving away from the ‘one-pose fits all’ approach in yoga, which can force the body into shapes that could cause injury by focusing on the aesthetics of the pose:

In the yoga world, we often conceive of asanas as having one final form that we are all striving to “achieve” or “finish.” But when we learn to appreciate the role that our unique body proportions play in what our specific yoga poses look like (or how hard we might be working in our shapes), we can start to broaden our notion of what it means to “progress” in yoga practice. Ultimately, our top priority in any asana should be for the shape to serve the individual body performing it; how the pose looks will then be a natural byproduct of that goal.’  For the full article see here


Home practice

We’ve been exploring practicing yoga at home this week.  Many people find once they have been attending a regular yoga class for  a while they want to start putting what they have learnt into practice at home.  But where to start?

Practicing yoga at home is really different from going to a class, and it can be a really hard thing to get motivated to do.  You don’t have a teacher telling you what to do or guiding you through a carefully sequenced class.  It’s just you and your body and a load of postures you’re not even sure you have right!  I know I have struggled to build up a regular home practice in the past, mainly because I told myself I didn’t have the time or a quiet enough space in which to do so.  Here are some tips and ideas I’ve learnt from teachers and my own practice that may help inspire you to get on your mat:

– Before you start, ask yourself what you need from your practice at that moment– it will be different every day.  Perhaps you have a sore neck and so make that your focus of your movements.  Maybe you feel tired and so want a more restorative practice, or maybe because you’re tired you’d like to feel more energized and so a bit of handstand practice or sun salutations would work.  

– Listen to your body and don’t force yourself to practice something you don’t want to; your practice shouldn’t be a chore to get through, but something enjoyable:

‘We’re trying to make our life listen to our practice. So let your practice conform to your life. Don’t make it something outside the boundaries of where you are and what you’re feeling and what you’re needing.‘ Read Judith Lasater’s full interview on home practice here– it has some really useful tips.

Home practice doesn’t have to be long, some days it may be 5 minutes, other days you might find you have been practicing for over an hour.  It also doesn’t have to take place in an ‘appropriate’ quiet space.  Although it can be nice to dedicate a space just for your practice, some days I like to practice out in the garden, with all the distractions that go with that.  Other days there might be lots of noise/people around the house, and some days I may not even have a mat with me.   It’s about being creative with what you’ve got.  Instead of trying to shut them out, work with the distractions and see what comes up in your body and thoughts as you practice- you may even find that your focus improves as a result.

– Get familiar with the basic poses and maybe just practice one or two poses a day.  Don’t worry about ‘doing it right’-  as long as you are not in pain, just go with the pose as you know it – notice how it feels for your body- what would make it better, what could you soften.  Keep asking questions.  As you become more familiar with the poses, you may then start building them into sequences.  Another idea is to practice a sequence from the class you attended that week (see below for some of the more familiar sequences that we practice in class).

– As you practice, observe and listen to the body.  Notice what shapes the body prefers/doesn’t prefer. Notice what your favourite pose is and what your least favourite pose is.  Notice the habitual patterns you hold in the body- do you always step back to downward dog with the same leg?  Is one leg easier to balance on than the other?  For every pose see if there is something you can take away or soften, something you don’t need (e.g clenching your toes in tree pose, holding in your belly in tadasana).  As you become more aware of the body and its patterns it will be easier to tune in and see what you need from your practice at that moment.

Explore, experiment, and have fun!  Remember that it doesn’t matter what you look like it the shape, it’s how it feels- play around with the shapes, make mistakes.

Keep it simple.  You don’t have to plan elaborate sequences or try and get yourself in the most extreme shape you can.  Listen to your body and go from there. Home practice for you today may just be sitting on a cushion and listening to your breath.


Here are a few sequences for you to try at home (they should be pretty familiar if you come to my classes already):

1. Tadasana (mountain pose), Uttanasana (forward fold), Ardo mukha svanasana (downward dog), Malasana (squat), ardo mukha svanasana, uttanasana, tadasana,

2. Tadasana, uttanasana, ardha uttanasana (half forward fold), right leg step back to low lunge, ardo mukha svanasana, right leg step forward to lunge, ardha uttanasana, uttanasana, tadasana.  Repeat on left side.

3. Balasana (child’s pose), cat/cow, bhujangasana (cobra), ardo mukha svanasana (downward dog), plank, balasana. Repeat.


Hips hips hips

We’re looking at those sticky hips this week- an area of the body notorious for deep rooted emotional ‘stuff’ and tension.  Working towards a better and safer squat, we’ll be trying to undo some of the posture habits created by sitting in chairs all day and as always, listening to the breath as well as the body to let us know whether the pose is right for us.     Here’s a really useful video which explains (better than I have been!) how to target the hips rather than stressing the lower back in a lunge:


Exploring balance

iyengar headstand

We’ve been exploring balance these last few weeks in class.  Here are some tips to help your balancing:

– Keep breathing!

– Keep the gaze soft but focused

– See if you can soften the pose, even if that just means releasing the back teeth.  Also, you’re allowed to move about in the pose- keeping the pose rigid and still will make it harder to balance.

– Keep it slow and work in stages- rather than rushing to get your arms above your head in vrksasana (tree pose), sort out the legs first and then maybe take the arms up when you feel steady.

– For standing balances start with some toe and ankle exercises (see post below on foot health) to warm-up and bring awareness to the feet.

– Have fun- it doesn’t matter if you fall out of the balance, just keep practicing!  Try balancing on different surfaces (yoga blocks or a scrunched up yoga mat are good), or changing your gaze to look up or to the side- notice the effect this has on the balance.


Appreciating the feet

It’s been all about the feet in class this week.  We’ve been looking at foot and ankle alignment, as well as stretching the muscles around the feet (which can get surprisingly tight).  Here’s a video with some great exercises for foot health:


We often neglect the poor feet, so every so often it’s nice to appreciate what they allow us to do in daily life, and in yoga- balance, strength, stability.

Look after your feet- Give yourself a weekly/daily foot massage.  Put your feet up:

Let go of your toes- gripping the toes could be a sign you are holding something somewhere else in the body

so just stay…and exhale

until the message crawls to the feet

and the gripping goes away

(From: breath:the essence of yoga)

Use your feet- try to walk barefoot as much as you can to allow the foot and ankle the space to move, free from shoes.  Walk on uneven surfaces- when we’re not sitting, most of our day is spent walking on flat, even ground which means we’re never really using the ankle joint and muscles in the feet to their full capabilities (for more information on this, see the amazing Katy Bowman’s work)- stray off the path, instead of steps walk uphill, walk downhill, and don’t forget to squat (see here for how to perfect your squat)!


Disconnection

‘Disconnection from the body is a cultural epidemic. We are taught to control the body by way of the mind, which is considered far superior. But the body has an intelligence whose mysteries the mind has yet to fathom. We read in books how to eat, how to make love, how much sleep to get, and impose these practices on the body rather than listening from within. Without the body as a unifying figure of existence, we become fragmented. We repress our aliveness and become machine-like, easily manipulated. We lose our testing ground for truth.’

Anodea Judith Eastern Body Western Mind.